

FlexiHub Team uses cookies to personalize your experience on our website. By continuing to use this site, you agree to our cookie policy. Click here to learn more.
In this article, you’ll find easy-to-follow guides on accessing a serial port in virtual machines for all popular virtualization environments. This will be specifically useful for the owners of serial port consoles, modems, or any other COM-based peripherals they need to redirect from a host PC to a virtual machine.
FlexiHub
Virtual environments offer many great benefits, however, there is one significant drawback – the access to the serial ports in virtual machines is often overly complicated if not impossible. What do you do if you need to transfer data for debugging purposes or use an external serial device in a virtual machine?
It can be very frustrating to attempt to connect a VM in VirtualBox to a serial port on a Linux or Windows PC. Native support for serial devices is lacking in virtualization solutions.
This article discusses methods of accessing serial ports in popular virtualization solutions like Hyper-V, VMware ESXi, and VirtualBox. We show you how to get the most from your serial-based peripherals when working with virtual machines.
It’s up to you to decide which of the methods described here is best suited for your specific situation, needs, and level of competence. But to make the right choice, please note that using a purpose-designed software application has many significant advantages compared to all the native methods.
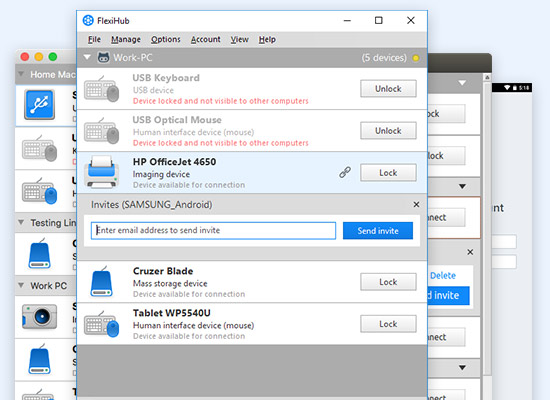
❖ FlexiHub has no limit serial ports you can redirect to each of your virtual machines.
❖ FlexiHub is a truly universal solution that works on every platform and is compatible with all popular virtualization environments such as Hyper-V, VMware ESXi, and VirtualBox.
❖ With FlexiHub you’ll have no trouble connecting to remote serial devices over all distances. This is particularly useful when you don’t have an opportunity to directly plug a device into your computer’s physical serial port.
❖ You won’t need any technical training to use the app as FlexiHub has a very self-explanatory user interface.
FlexiHub


The devices connected to the host’s serial ports will become accessible in a virtual machine. No further adjustments or setting configurations are required. You can manage serial ports from a virtual machine simply and conveniently. FlexiHub is compatible with all major virtualization software, including Hyper-V, VirtualBox, and VMWare.
As FlexiHub works over the Internet, a COM port device’s physical location will make no matter at all. Once you install FlexiHub on the server machine with an attached serial device and the client computers, you’ll be able to connect virtual serial ports over IP and access COM devices in a virtual machine remotely.

Now let’s have a look at the Hyper-V native method of setting up COM to VM passthrough. Here is what you need to do to configure a COM port for a virtual machine Windows 10:
\\.\pipe\COM1).Note: The name must be unique so it’s a good idea to check if the name is already in use by running this command in the PowerShell terminal:
[System.IO.Directory]::GetFiles("\\.\\pipe\\").Contains("\\.\\pipe\\COM1")After that, you’ll see that pipe in the list of all named pipes that you currently use.
To see the list, run this command in a PowerShell terminal:
[System.IO.Directory]::GetFiles("\\.\\pipe\\")Now you can use the named pipe path to connect to Windows virtual machine COM ports on the Hyper-V host machine.
For more detailed information, you can check out this guide: Hyper-V serial port passthrough →

VirtualBox also has some built-in functionality you can use to access RS232 in virtual machines.
From the Settings tab or the VBox Manage command, you can configure the Port Mode and Port Number to create up to four virtual serial ports in each virtual machine. But to ensure compatibility with the guest OS, you’ll need to configure your virtual serial ports as a “standard UART device”.
This will allow you to send and receive serial data but the whole set-up process differs for each specific operating system and may require certain technical skills to perform.
Use the following steps to add a COM port to a VirtualBox VM.
You can now receive data from the connected serial device.
For the detailed setup description, please check out this comprehensive guide: VirtualBox serial port passthrough →

In VMware, you can create up to 4 virtual interfaces for each VM that can be used to redirect data to physical serial ports, files, or named pipes.
You can try this method to access a serial modem or some other COM-based peripheral during your next VMware Workstation session. On top of that, with its help, you can send debugging data to the host or another virtual machine.
Here is how you can add serial ports to VMware Workstation
And here is a much more detailed guide on setting up VMware serial port passthrough →
