
Nowadays there isn’t as much use for COM ports as it once was. And yet, they still can find their practical application and do you a great deal of good.
For example, you’ve got to have at least one serial port or you won’t be able to interact with the vast majority of the kernel debugging tools. In actual practice, it doesn’t have to be a physical COM-port. With the right software tool, you might as well do kernel debugging through a virtual serial port on a virtual machine.
This tutorial will show you how to redirect a serial port from the host to a guest VM in VirtualBox and how to create virtual serial ports in VirtualBox.
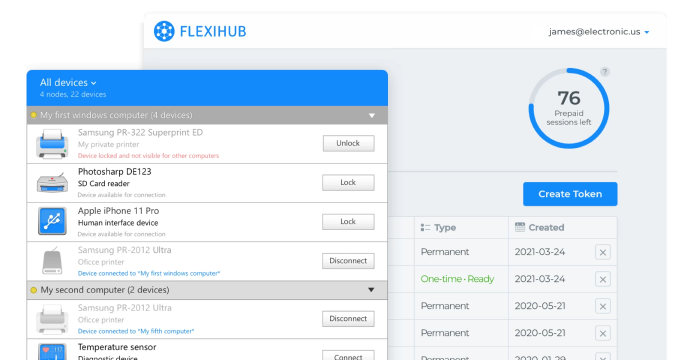
FlexiHub
FlexiHub offers users a simple path to enable serial ports in VirtualBox or any other virtualization platform by redirecting serial port devices to guest virtual machines over the network.
FlexiHub works by creating virtual connections and redirecting serial port data over a network to the VirtualBox virtual machines. There are no complex parameters to configure. With FlexiHub, you can add a VirtualBox serial port with just one click.
From this point on, serial devices connected to the VirtualBox serial ports will be redirected to the virtual environment without any extra configuration.
Another method of setting up COM port forwarding on VirtualBox can be done with capabilities built into the platform. Virtual serial ports are enabled with the guest OS presented with a standard UART device to ensure compatibility. The connection is configurable and provides the ability to send and receive data. Configuration details vary based on the host OS being used.
VirtualBox serial port setup can be accomplished through the Settings tab or the VBox Manage command. This allows you to create up to four virtual serial ports in each virtual machine. You are required to configure the Port Mode and Port Number.
You should use standard values when defining the Port Number as it describes the serial port that the virtual machine will use. You also have the option of creating a user-defined serial port by providing an IRQ and I/O base address.
Port Mode defines how the virtual port is connected. The Port Mode options are:
Windows
|
Windows
|
The data gets transmitted through a named pipe. The pipe name needs to be registered with the following format \\.\pipe\<name> where <name> is used as a machine identifier. It can be a user-defined name chosen for simplicity or any reason. |
macOS
|
macOS
|
The connection is made through a local domain socket. Using tmp as the socket filename is a common practice that provides the VirtualBox user with privileges such as writing to the pipe. |
Linux
|
Linux
|
Linux users can make use of multiple tools that establish a connection to a local domain socket. One that is widely used and available in many Linux distros is Socat.
VirtualBox operates under the premise that the socket or pipe it references exists.
When you are implementing a direct connection between two virtual machines, one machine creates a pipe or socket and the second VM attaches to it.
|
You can configure four serial ports on each machine and multiple port numbers can be chosen.
VirtualBox allows users to create virtual machines via NAT network type by default. For users interested in running server software within a virtual machine, they must alter its network type—or forward ports through virtual NAT. We will try to explain how to configure port forwarding VirtualBox capabilities, allowing users to manage and run desired software inside their VB virtual machines/desktops.
Virtual machines usually don’t require being accessible from beyond the virtual machine. This is why default settings are fine for a majority of users. In fact, default settings can offer additional security, being that it isolates the virtual machine from inbound connections.
Thanks to the NAT network type, the host operating system handles all of the network address translation. Virtual machines share the host machine’s IP address without receiving any traffic from outside. Users have the option of activating the bridged networking mode, which allows virtual machines to appear as separate devices on a network—as well as having their own IP addresses.
Step 1: Right-clicking the desired virtual machine and choose the Settings option. If the Settings option isn’t available, users must turn off the virtual machine prior to making any further changes.
Step 2: From within the Networks setting section, choose the Bridged adapter network mode.
Step 3: Hit OK.
For users who’d rather use NAT network mode, VirtualBox port forwarding can also be executed via the virtual machine’s NAT.
Please note: Only one of these steps is required. Users do not need to forward ports if they’ve already enabled bridged networking (as shown in the previous steps).
There was a time when VirtualBox users were forced to use the VBoxManage command to forward ports. However, now, VirtualBox contains a simple and user-friendly port-forwarding window.
To establish port forwarding with the VBoxManage command instead of the modern GUI (Graphical User Interface), follow these instructions to do so — located in VirtualBox’s user manual.
Step 1: Selecting the Settings option (located in the menu as shown below) to open a virtual machine’s settings window.
Step 2: Navigate to the Network pane in the virtual machine’s configuration window.
Step 3: Expand the Advanced section, then hit the Port Forwarding button.
Please note: This button is only active for those using a NAT network type—users must only forward ports when using a NAT.
All in all, it’s much easier (and recommended) to use VirtualBox’s Port Forwarding Rules window. Users aren’t required to specify any IP addresses, as those specific fields are considered optional.
We hope the details in this guide demonstrate how to share a COM port in VirtualBox. FlexiHub may present the simplest way to add COM ports in VirtualBox, but as you can see there are other options. Once configured, you can enjoy the full functionality of serial devices from within a virtual session as if you were directly connected to the peripheral equipment.
FlexiHub