Here is what you need to do to safely disconnect a USB device from your Hyper-V VM:
FlexiHub Team uses cookies to personalize your experience on our website. By continuing to use this site, you agree to our cookie policy. Click here to learn more.

Using a USB storage or other USB devices while operating a Hyper-V virtual machine (VM) can be challenging because, unlike other hypervisors, it doesn't offer an easy out-of-the-box solution. Before you can access a USB device in Hyper-V, you will need to perform certain steps to enable Hyper-V USB passthrough.
And in this article, you’ll learn ways to enable USB passthrough in Hyper-V: using the built-in tools to transfer files from a USB storage, and sharing complex USB devices to the Hyper-V VM using dedicated software tools.
It is a known fact that Hyper-V cannot passthrough USB devices other than storage which is super inconvenient when you need to attach, for example, a ZigBee dongle, MFA/2FA dongle, a crypto token, or some other USB device.
To deal with that issue, you can use specialized software for redirecting USB devices over the network.
With FlexiHub, you can connect any type of USB device to a Hyper-V virtual machine and enjoy its functionality.

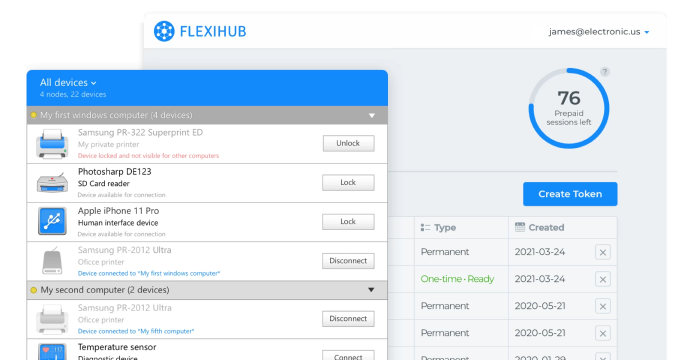
The pros and cons of using FlexiHub to access a USB in Hyper-V:
Pros:
Cons:
FlexiHub is a powerful software designed to make USB devices accessible from any remote computer, be it a PC working in the next room or a virtual machine running on a computer located miles away. This program can be your indispensable tool to enable Hyper-V USB passthrough on Windows 11, Windows Server 2022, and earlier versions.
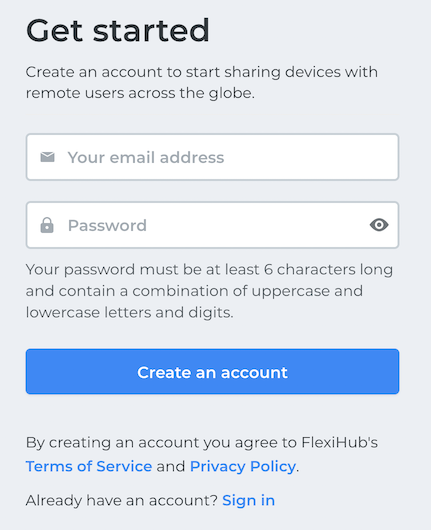


Once done, you can get full access to the device’s functionality and contents as though it were connected directly to your virtual machine.
It’s also worth mentioning that FlexiHub allows the creation of cross-platform connections. It can enable Hyper-V USB passthrough from Linux to Windows, from Windows to Mac, and in many other combinations.
For this Hyper-V USB passthrough method to work, you need to attach a USB device on the server-side (Hyper-V host), and then enable access to it for the virtual machines.
The pros and cons of this method include:
Pros:
Cons:
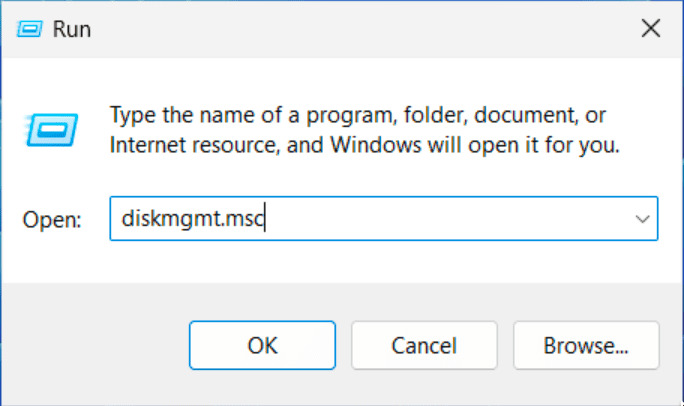
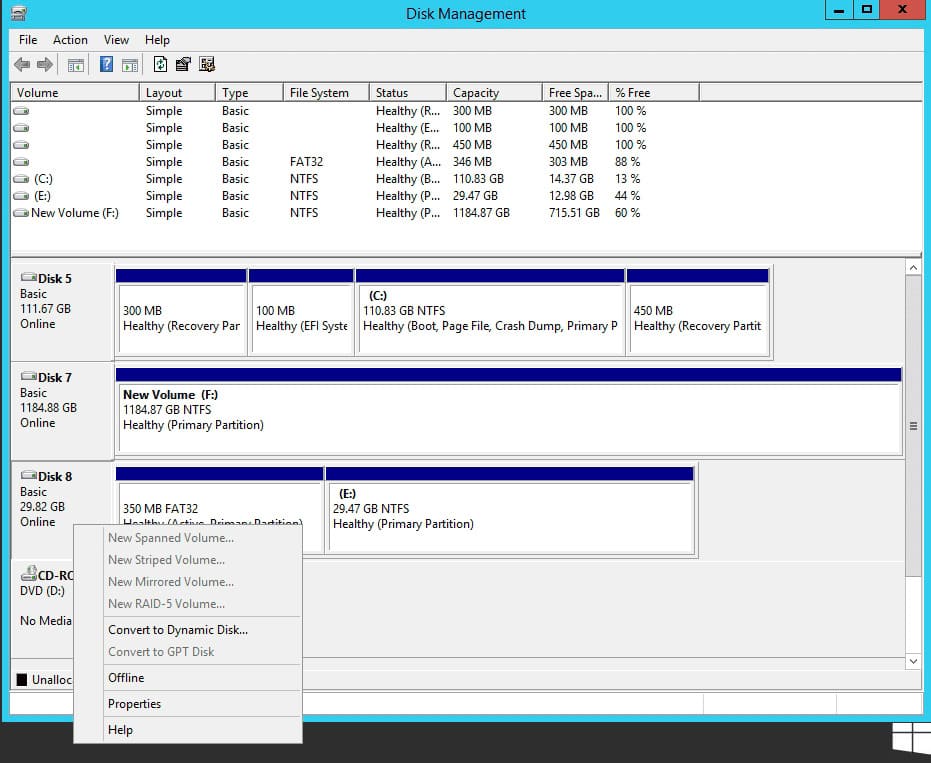 Once you do this, your host OS will no longer have access to the USB device.

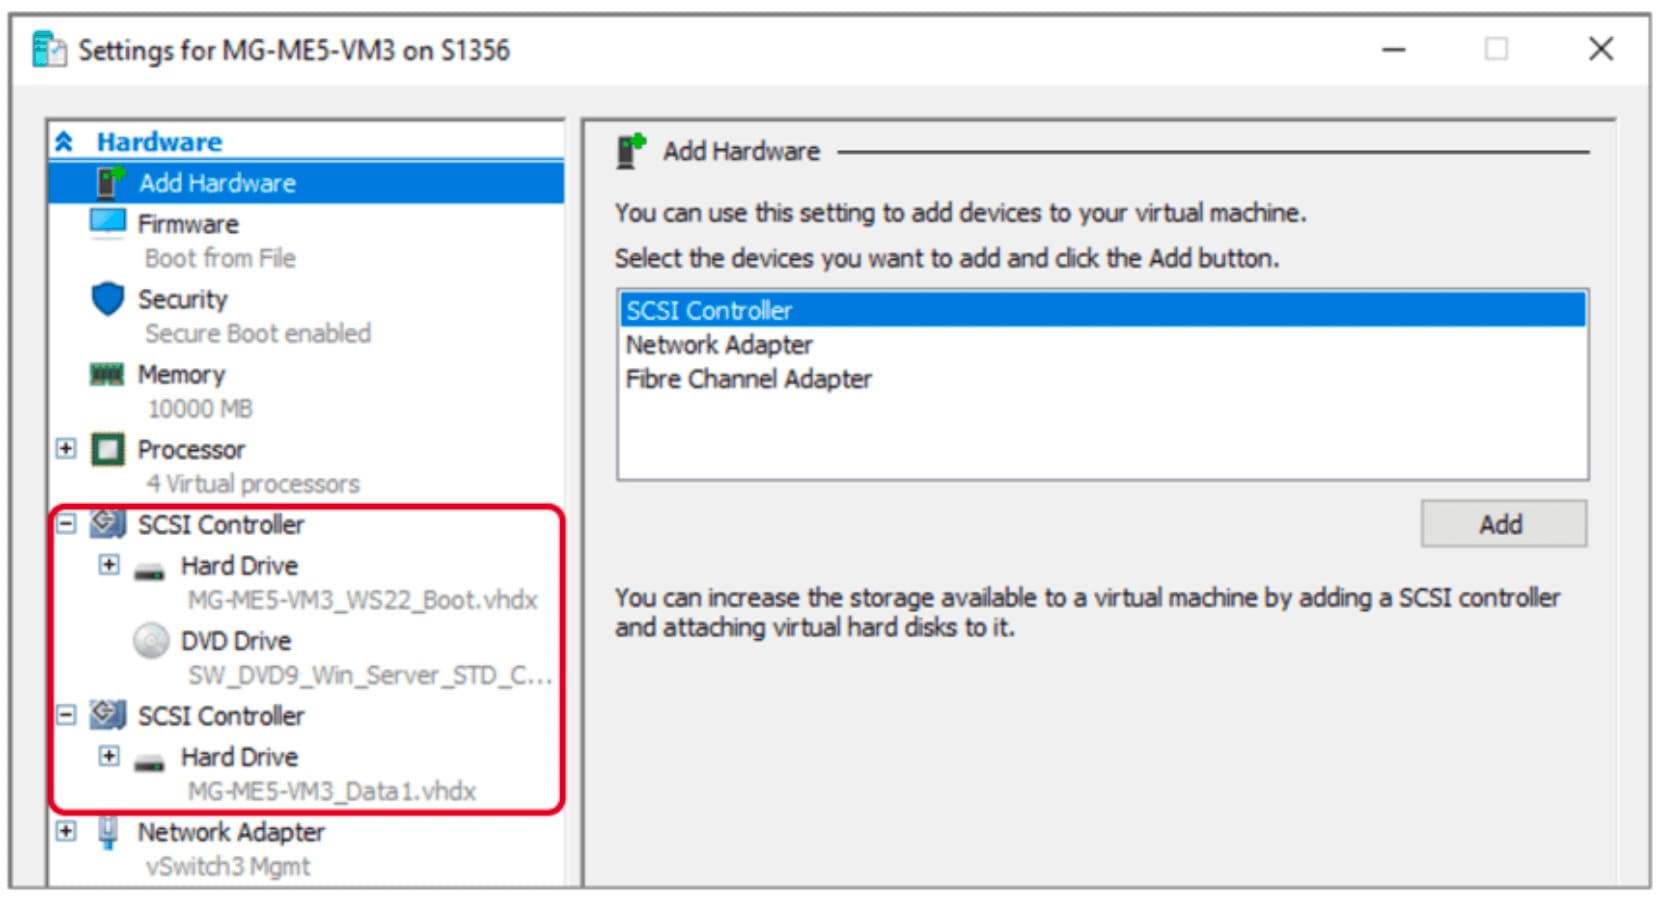
Note: You can add the hard drive to the IDE Controller instead of the SCSI Controller, but be warned that you won’t be able to remove it from the VM without turning off the VM first. So, to avoid the hassle, we recommend adding the drive as the SCSI device which can be removed from a running VM on the contrary.
Once you click OK, the USB device will appear in your VM’s File Explorer on your Hyper-V VM as if it was directly attached to your virtual machine.
Here is what you need to do to safely disconnect a USB device from your Hyper-V VM:
With this method, you can access USB devices in Hyper-V by activating the enhanced session mode from the client-side (guest OS of your VM). During that enhanced session, you can access all the USB devices attached to the host machine from the VM’s operating system.
The pros and cons of Enhanced Session Mode:
Pros:
Cons:


 Once you enable the enhanced session mode, your Hyper-V VM’s system obtains full access to all the host’s USB devices.
Note: At this point, if you have an active session with the Hyper-V VM, terminate it first.
From this point on, you should be able to access the USB devices from your VM’s File Explorer. Double-click on the drives to make sure it’s connected and you can browse its contents.
The main downside of the Hyper-V USB passthrough access methods we have described above is that neither of them will work if you don’t use Hyper-V Virtual Machine Connection (VMConnect) as your Hyper-V client. So here is another method for those not willing to install additional Hyper-V tools.
The main difference between using Remote Desktop Protocol (RDP) and VMConnect is that RDP will grant you access to USB devices attached to the RDP client, while with VMConnect you’ll be accessing devices connected to the Hyper-V host.
The pros and cons of RDP for Hyper-V USB passthrough:
Pros:
Cons:

 Now, if you want to access a Hyper-V USB device, you should initiate a Remote Desktop session.
As you can see, enabling Hyper-V USB passthrough is much less tricky when you know the ight steps. Now that you are familiar with several different ways to access a USB device inside a Hyper-V VM, you can choose which method works best for your specific situation.
